Dealing with Shorter Versions, Cues or “Cutdowns” for Ads
I am often asked to produce several different lengths for TV series, commercials and production music: 60″, 40″, 30″, 20″, 10″ and short stings. Hard disk digital recording makes this much easier than it was in the old analogue days, but there are some tricks to making it even easier. When I first started using Logic for this sort of work I would compose and record the full length verrsion, then save it as a different file for each cutdown. The drawback to this method is that if you need to do a remix or further development you either need to apply the changes to each file or start again from scratch. Here is a method that works very well and allows you much more scope for quickly changing all mixes globally:
The Copy & Paste Inline Method
This is a simple way of doing a cutdown which removes just one chunk from the middle. It can easily be adapted to taking out two or more chunks. N.B. This is slightly more complex if tempo changes are involved.
- Create your basic version, this should be the longest version – it’s easier to edit stuff out than edit it in.
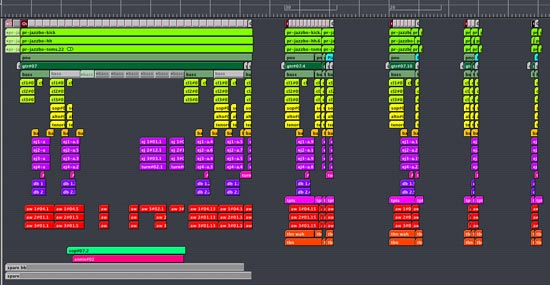
- Select everything – [cmd]+[a] – and copy to a later part of the arrange page, about 8 bars after the end of the original. This will be your first cutdown.
- To check your timing you now need to use a SMPTE offset to make the first note or sound show at 00:00:00:00 Simply set the bar to which you have copied the regions to in the box:

You can access the SMPTE offset from the drop down menu when you click on the small triangle at the R.H. end of the floating transport window. - Move the Song Position Line to work out approximately how many bars your shorter version needs to be. Allow a couple of bars for the ending note and final reverb tail
- Work out how many bars you need to subtract and define a cycle zone in the bar ruler of that length. Move it to a point so that you get at least your opening theme before the cycle area. The bits before and after are going to be what’s left after the edit – you should be able to visualise roughly what you want to keep from the beginning and end of the music.
- At this point SAVE THE FILE. (As if you hadn’t been doing that every 5 seconds all the time)
- Select everything again and
Cut Time & Move By Locators
(Region menu or [ctrl]+[cmd]+[x])
At this stage you have a very approximate cut down version. It might be just right, but the chances are you will need to do some trial and error. Play it from top to end and note how close you are to the target timing. I like to use the Giant SMPTE Display
option from the drop down menu in the floating transport window. Unless it’s exactly right – which is unlikely – use undo to get back to the uncut version.
- If necessary, add or subtract a bar from cycle zone to get closer to the target length. Depending on the content it may be possible to use fractions of bars, but at this stage only aim for accuracy to within a second or two.
- Move the cycle zone to different parts of the music, keep trying the cut until you get the best result.
- Tidy up the cut by checking individual tracks, you may need to adjust start and end of regions if notes have been cut into.
- If you need the length to be absolutely accurate, you may need to make adjustments, e.g.:
- Add a
pickup
drumbeat, roll or sound effect before beat 1 - Lose a pickup before beat 1
- Lengthen the final chord. (Create a new audio file from region if doing destructive edit!)
- Shorten the final chord – you can do this with an automated fade or destructive edit.
- Lengthenor shorten the final reverb tail – either with automation or a separate reverb plugin.
- Add a
- Repeat the whole procedure for a shorter cutdown, either by copying and pasting this cutdown or using the original full length again.
With practice this procedure becomes quite intuitive. I have done over 100 of such tracks and never had an insurmountable problem or needed to alter tempo. Once you get a feel for doing this you will find that you can predict exactly where the cuts will work.
Tips
- Quantise MIDI before doing the cuts, then unquantise and merge sequences
- Plan the process from the start, e.g. make sure the important thematic material is stated at the beginning and end of the full version
- If you absolutely must have tempo changes, remember to copy these as well as the regions.
- Use markers to show which version is which, especially if you do alternatives
- Choose
Display SMPTE without bits
in Display preferences, that way you only see hrs, mins, secs and fr which is clearer